• Home
  • Services
  • Experience
  • Portfolio
  • Our Team
  • Blog
  • Contact
Brodivers Brodivers Brodivers
Doha, Qatar contact@brodivers.com (+974) 3993 0301
  • Home
  • Services
  • Experience
  • Portfolio
  • Our Team
  • Blog
  • Contact
Brodivers Brodivers Brodivers
  • Home
  • Services
  • Experience
  • Portfolio
  • Our Team
  • Blog
  • Contact
  • Home
  • Blog
  • Embroidery Underlay Types: A Practical Guide for Better Production Results

Embroidery Underlay Types: A Practical Guide for Better Production Results

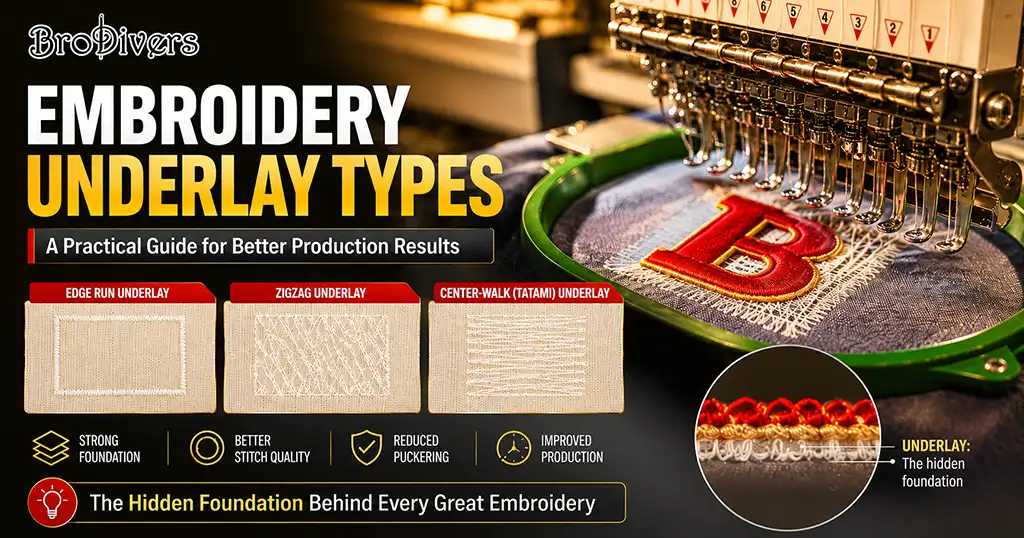
Embroidery Underlay Types: If your embroidery puckers, slides on the fabric, or looks thin and washed out after the first wash, there is a good chance the underlay is wrong — or missing entirely. Underlay is the foundation layer of stitches placed before the visible design. Most embroidery problems that people blame on thread tension or stitch density actually start here.

What Underlay Stitches Actually Do

Embroidery puckering on jersey fabric caused by missing or incorrect underlay settings

Underlay stitches serve three purposes: they stabilize the fabric before the main stitches are applied, they compress and even out the surface of fabrics like fleece or piqué, and they provide a base that stops the top stitches from sinking into loose or textured materials.

Without underlay, the main stitching pulls the fabric in the stitch direction, distorts outlines, and produces an uneven surface. On stretchy fabrics like jersey, the design stretches and loses its shape during or after production.

Underlay is set in the digitizing software before production. In Wilcom, each object has its own underlay settings — the digitizer controls underlay type, density, offset, and coverage for each individual element. This level of control is what separates professional digitizing from a file produced by auto-conversion tools.

The Main Underlay Types

Run Stitch Underlay

Run stitch underlay is a single line of running stitches placed along the outline or centre of a design element. It is the lightest underlay option and does minimal compression. It is appropriate for light, stable fabrics such as woven cotton or taffeta, and for narrow satin columns below about 4mm wide.

Wilcom EmbroideryStudio underlay settings tab showing run stitch configuration for a satin column object

Edge Run Underlay

Edge run underlay follows the exact outline of a shape, placing a run stitch just inside the perimeter. It locks down the edges of satin stitch objects, preventing them from pulling away from the fabric and keeping the outline crisp. Particularly useful under wide satin columns and lettering with curved edges.

Centre Run Underlay

Centre run underlay places a running stitch along the central axis of a satin column. It provides a spine for the satin stitches to lock onto, maintaining column width consistency and preventing thread from floating on smooth fabrics.

Zigzag Underlay

Zigzag underlay lays down a row of zigzag stitches across the fill area of a design element. It covers more surface area than run stitch, slightly compresses the fabric and provides a structured base for fill stitches. Suitable for stable woven fabrics, medium-width satin columns, and lettering on business shirts.

Double Zigzag Underlay

Clean flat embroidery result on pique polo shirt achieved with double zigzag underlay in Wilcom

Double zigzag underlay applies two layers of zigzag at 90 degrees to each other, creating a grid. It is a strong compressor that levels out pile fabrics, stabilises knits, and provides a solid foundation for dense fill areas.

This is the underlay to use on fleece, heavy polo shirts, piqué, terry cloth, and most outerwear. It adds visible stiffness to the finished embroidery — acceptable on structured fabrics but should be avoided on lightweight or stretchy materials.

Full Coverage Underlay

Full coverage underlay places a complete fill layer at a lighter density under the main fill area. It is used when the top fill layer alone would not cover the fabric colour. On dark fabrics where the base colour bleeds through a light thread, a thin full coverage underlay in a matching or neutral colour fills in the gaps.

Underlay by Fabric Type — A Practical Reference

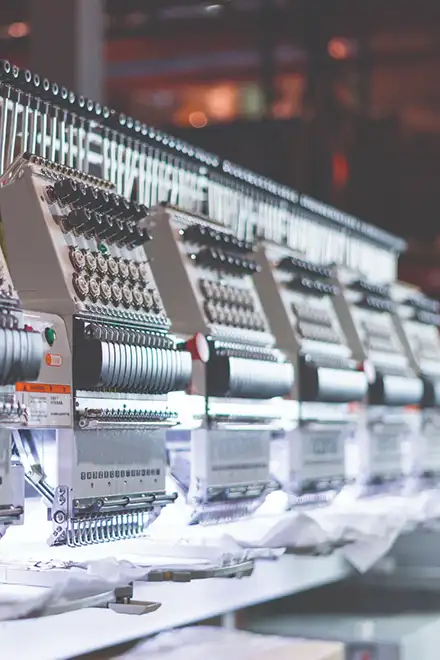
Barudan industrial multi-head embroidery machine running a production order in workshop

FabricRecommended UnderlayKey Reason
Woven cotton (shirt, bag)Edge run + centre runStable, needs outline control
Piqué poloZigzag or double zigzagSurface texture needs compression
Fleece / sweatshirtDouble zigzagPile must be fully compressed
Jersey / knitwearDouble zigzag + reduced densityStretch must be controlled
Cap (front panel)Centre run + edge runFoam compresses with right pressure
DenimEdge run + zigzagRigid weave, needs edge control
VelvetDouble zigzag (light)Pile crushes unevenly without compression
Nylon / shell jacketLight zigzagSlippery, lightweight — avoid bulk
Towelling / terryDouble zigzag (dense)Deep pile, heavy compression needed

Underlay and Stitch Density: How They Interact

Side by side comparison of small embroidery lettering with correct underlay versus insufficient underlay settings

A common mistake is to increase stitch density when embroidery looks thin or transparent. This adds weight, stiffness and thread use without solving the real problem. In most cases the issue is an underlay that does not compress the fabric enough for the top stitches to sit flat and fully visible.

The correct approach is to choose the right underlay for the fabric first, then adjust density to the minimum needed for coverage. On fleece, a double zigzag underlay at the correct offset allows the top fill to sit cleanly at a moderate density.

Underlay for Small Lettering

Small lettering is one of the most demanding digitizing situations for underlay. The goal is to keep the letter bodies stable and legible without adding bulk that causes letters to thicken, fill in, or lose their shape.

For lettering below approximately 8mm in height, centre run underlay is usually sufficient. For lettering between 8–15mm, edge run plus centre run typically works well. Above 15mm, a light zigzag can be added depending on the fabric.

Avoid double zigzag under small lettering on light fabrics. It stiffens the letter base, which can cause satin columns to spread and make tight spacing between letters close up during production.

Common Underlay Mistakes

Wilcom EmbroideryStudio object properties panel open on underlay tab showing per-object underlay configuration

Using no underlay because the fabric looks stable. Even smooth, stable fabrics need at least a run stitch underlay to anchor the design. Without it, designs drift slightly during production and outlines lose registration.

Applying the same underlay to every design element. A design with both thin lettering and a large solid fill area needs different underlay settings for each object. Wilcom handles this per object.

Ignoring underlay when resizing a design. A file digitized for a 10cm chest logo may have underlay settings appropriate for that size. Reducing it to a 4cm patch changes everything — underlay must be reviewed whenever a design is significantly resized.

Setting underlay offset too wide on stretchy fabrics. On jersey or knitwear, a wide offset leaves the perimeter unsupported, and stretch during hooping pulls the outer edges of the design away from their intended position.

A note from 26 years of production experience
The majority of production problems that look like machine problems or thread problems are actually digitizing problems, and most digitizing problems trace back to underlay. A design that goes down perfectly the first time is almost always one where the underlay was set correctly for the specific fabric — not copied from a previous file or left at software defaults. When a client sends a file that has been running badly on their machine, the first thing to check is the underlay.

Frequently Asked Questions

What happens if I use no underlay at all?

The top stitches will pull the fabric in the stitch direction, causing distortion and puckering. On pile fabrics, the stitches will sink into the material and the design will look thin and unclear. Underlay is not optional for production-quality embroidery.

Can I use the same underlay settings for every fabric?

No. Fabric behaviour varies significantly — fleece needs heavy compression, lightweight wovens need only light anchoring. Using a single default setting produces inconsistent results across different garments.

Does underlay increase stitch count significantly?

It adds stitches, but the increase is modest compared to what would be needed in the main fill to compensate for a missing underlay. Correct underlay often allows you to reduce main fill density, which can actually lower the total stitch count.

Why does my embroidery look good on cotton but poor on polo shirts?

Piqué polo fabric has a textured surface that requires zigzag or double zigzag underlay to compress before the top stitches are applied. Files digitized for smooth cotton often use only run stitch underlay, which is insufficient for piqué.

Should I adjust underlay when resizing a design?

Yes. Resizing changes stitch density and column widths, which affects how the underlay interacts with the fabric. Always review underlay settings when a design is resized by more than 20–25%.

What is the best underlay for cap embroidery?

Caps have a foam front panel that compresses when hooped. Centre run underlay on the central axis of satin objects, combined with edge run on outlines, is the standard approach. Heavy underlay on caps adds stiffness and can cause the foam to remain compressed after the cap is removed from the hoop.

In Wilcom, where do I set the underlay per object?

In EmbroideryStudio, select the object, open Object Properties, and go to the Underlay tab. Each object can have its own underlay type, density, and offset. For multiple objects with the same underlay requirement, select all and apply in one step.

Need a Professionally Digitized Embroidery File?

Every file we deliver includes the correct underlay for your fabric and machine — set manually for each design element, not left at software defaults. Send us your logo, garment type and machine model for a free quote.

Get a Free Quote

Related Posts

2 août 2026 contact@brodivers.com

How To Prepare Your Logo For Wilcom Digitizing

19 juillet 2026 contact@brodivers.com

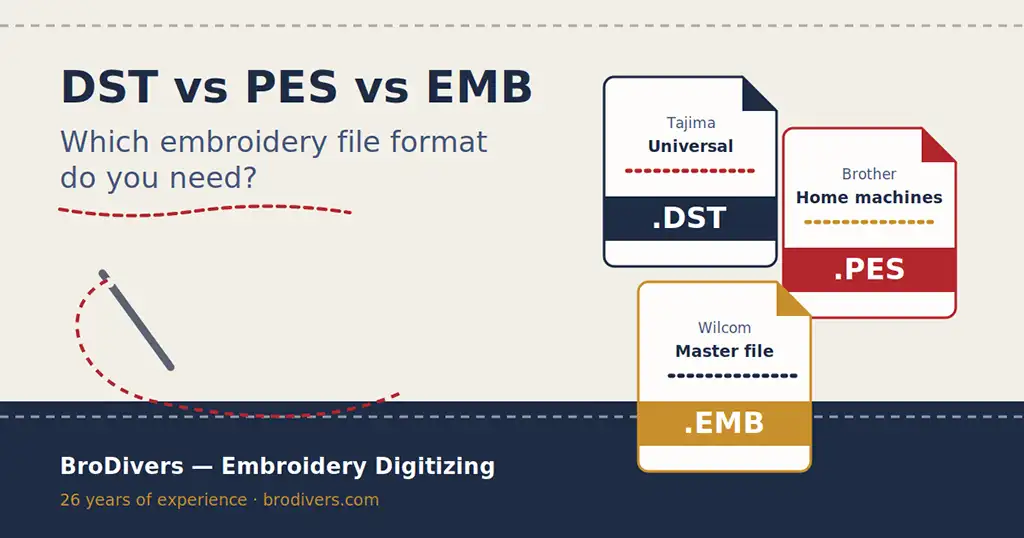
DST vs PES vs EMB: Which Embroidery File Format Do You Need?

    NEED AN EMBROIDERY FILE?LET'S TALK !

     Doha, Qatar 

    (+974) 3993 0301

     contact@brodivers.com

    THAMEUR RADHOUAN

    Contact Thameur Radhouan on WhatsApp

    Copyright © 2026 Brodivers. Design by Raafet

    Compare list 0

    WhatsApp me